In the ever-evolving landscape of online visibility, ensuring that your website is easily discoverable by search engines is paramount.
Google Search Console, a powerful and free tool offered by Google, plays a pivotal role in this process. One of the key steps to enhance your website’s presence is by adding a sitemap to Google Search Console.
This step-by-step guide will walk you through the process, demystifying the technicalities and providing you with the knowledge and tools necessary to make your website more accessible and search engine-friendly.
Table of Contents
ToggleHow to Add Sitemap in Google Search Console [Step by Step]
Step 1:
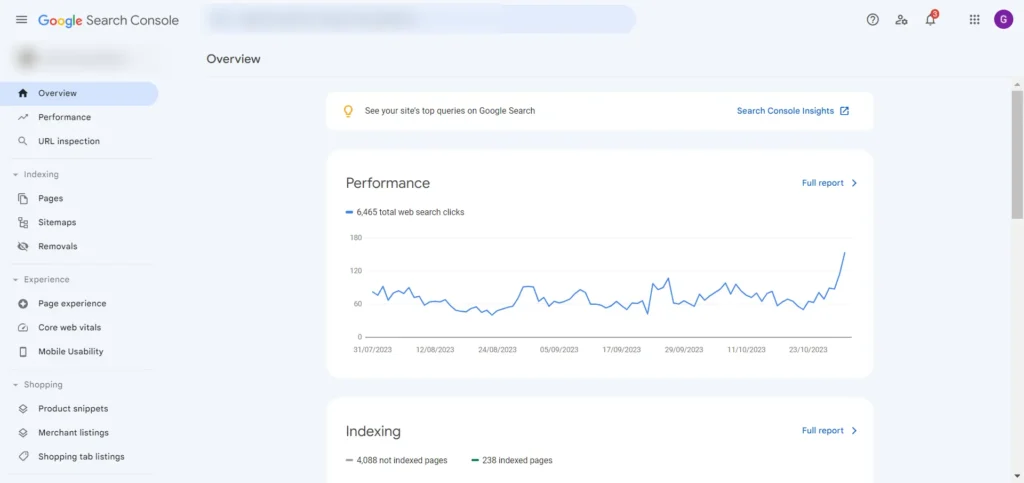
Sign In To Your Google Search Console Account And Select The Property

Step 2:
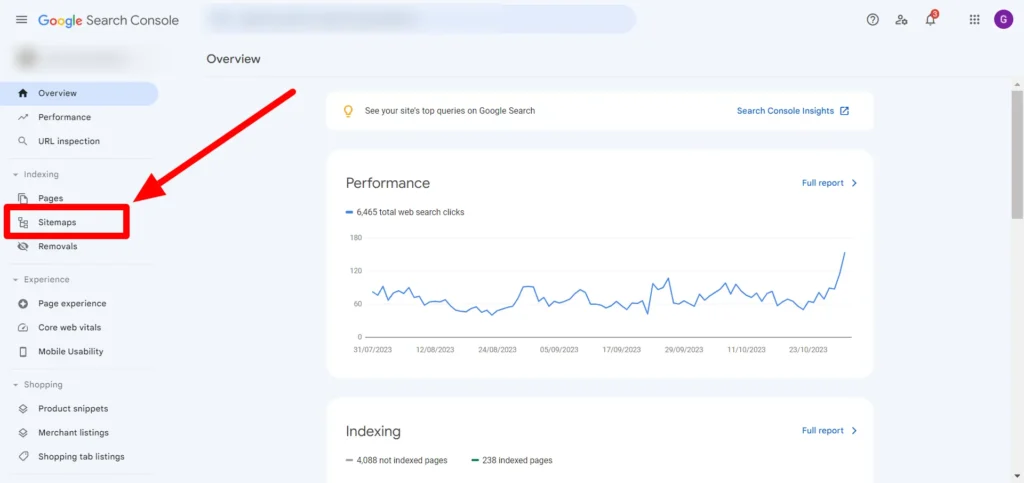
Select Sitemap In The Left Side Menu

Step 3:
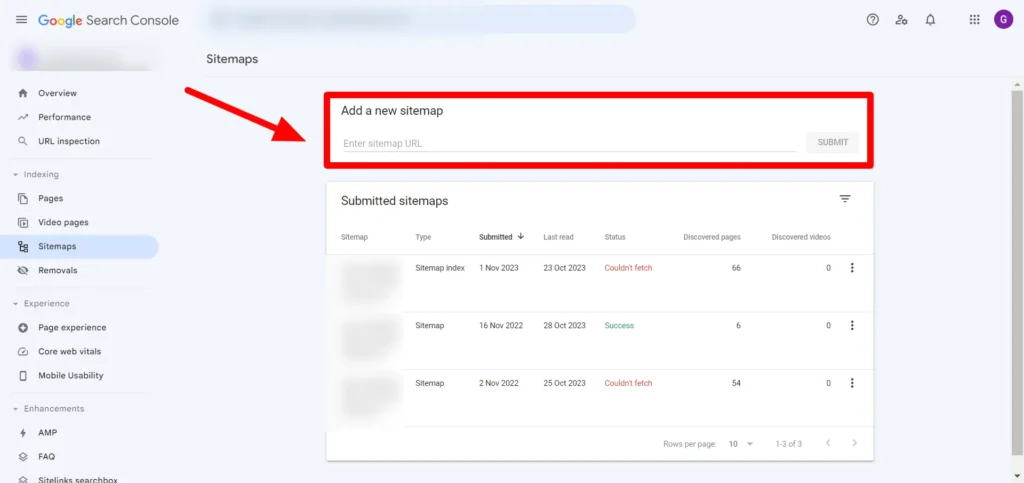
Add A New Sitemap Or Existing Sitemap In The Enter Sitemap Url Box. Click Submit. That’s all.

Conclusion:
To wrap up, adding a sitemap to Google Search Console is a valuable step in improving your website’s visibility and search performance.
However, if you’re looking for a hassle-free and expert-guided experience, don’t hesitate to hire a Google Search Console expert who can provide the knowledge and skills to optimize your sitemap and enhance your online presence.


